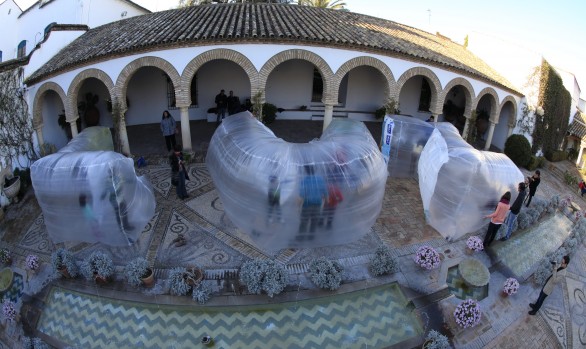
Low Cost Photography from the Air BIG BANG DATA
Workshop“Low cost photography from the air” is an educative project that aims to teach documentation techniques of the territory throughaereal low-cost pictures taken with globes and kites by using tools from PublicLaboratory, an open science network and organization that collaborates withBasurama.
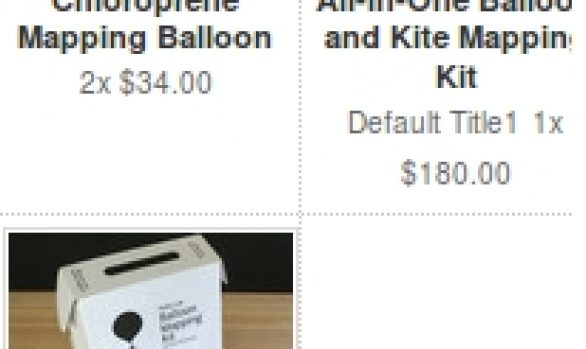
As part of the program of the exhibition Big Bang Data in the space of the Fundación Telefónica of Madrid (march) and families (may). In the exhibition is included as part of it the kit de aereal low-cost photography developed by PublicLab together with pictures of the workshop that we did in Castellón Defend the land from the air.
Join the community of PublicLaboratory through itswiki and mail list.
The workshops were divided in two sessions:
Date of the workshop for teenagers: Saturaday 28 and Sunday 29, March 2015.
Date of the workshop for families: Saturday 16 and Sunday 17, May 2015.
Timetable: Saturday: From16:30 to 20:00 and Sunday: From 10:30 to 13:30.
Methodology of the workshop for teenagers
The workshop was estructured in two sessions of 4 horas: Saturday Morning and Sunday Afternoon .
Sessión 1: presentation; making a case to protect the camera or the phone; excursion to take pictures (Puerta del Sol); review of the pictures; short introduction toPublicLab y Basurama.
Session 2: review and selection of the pictures; practical session to assemble the pictures to form a map (using mapknitter.org); theoretical session about the subjectivity of the maps, digital cartographies and techniques DIY of aereal pictures.
Session 1. Saturday afternoon.
Presentation
Presentation of the participants and the monitors.
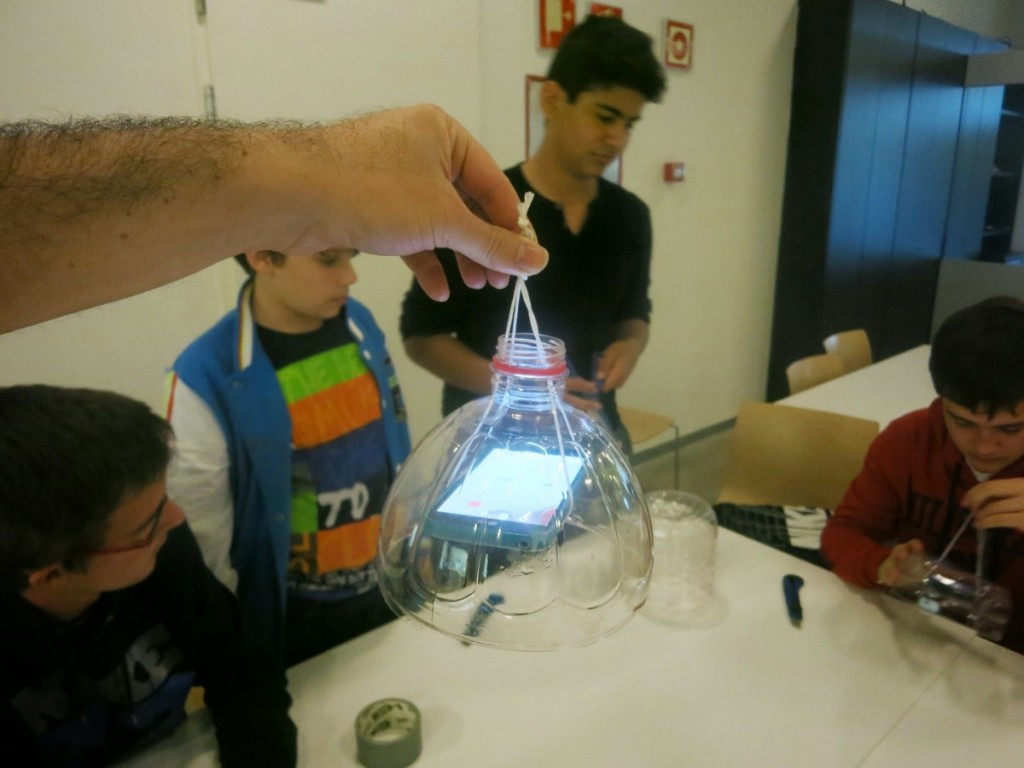
Making a case to protect the camera
Materials needed: mobile phones of the participants, some rope, plastic bottles (of 2 and 5 liters, empty containers), scissors, cutters, permanent marker. We don´t use it, but it is also possible to use cardboard.
To start we suggested an exercise to work with our hands and start solving step by step how to hang a camera from a balloon that takes picture.
- How to get the camera to be horizontal?
Making of a rope swing (rig or harness) so the camera is horizontal. The participans use their own phones as cameras. - How to protect them against hits?
Making the case from plastic bottles or other containers .
- How to get a camera that doesn´t turn over because of the wind?
Puttng glue to the case so it works as a vane (explaining the swivel hitch).
- How to hang cases to the rope?
Explaining how to unite with a carabiner to not generate extra tension to the rope.
- How to activate the trigger of the camera in continuous mode?
Gum and scotch tape to activate the trigger.
- How to blow a balloon?
How to blow up a balloon, tying it and to the rope.
- How to transport the balloon?
Precautions to prevent that the balloon blows up.
- What happpens if we loose the balloon?
Adding contact mode to the case and in the camera.
Excursion to take pictures
The participants take turns for the transport tasks (holding the rope, the balloon, dropping and picking the rope, trigger the camera, pick back the camera).
18.00h is little bit late to start making pictures: the light starts disappearing, so the pictures are more blurry, and the longs and variable shadows make it more difficult to join the pictures to start making the map.
We had enough time to fly three times over the square of Puerta del Sol. The camera used was a Canon1300 and a minicamera MobiusAction Cam.
Pictures review
It is very important to review the pictures taken with the participants to understand the problems (and possible solutions):
- blurry pictures
- moved pictures(not enough light)
- too close pictures (not enough height, not enough helium or lots of wind)
- pictures that show the bottle (wrong suggestion to the case)
Introduction to PublicLab andBasurama
We save for the end an introduction in the context of the workshop and the motivations. We wanted to leave for the end these part that is more theoric.
Session 2. Sunday morning
Materials: laptops, tablets, pen drives and hard disks to share the pictures.
Review and selection of the pictures
We went on discussing again the pictures of the previous day and they were distributed among the participants . The collective task was to review the pictures and to select the best to use them to crate a map of the square. It was suggested to the participants to discharge the pictures that were: moved, blurry or taken from too close.
Practice session of assembling pictures to make a map
With mapknitter.org.
Theoretical session of digital cartographies and aereal pictures
About the subjetivity of maps, digital cartographies and DIY techniques for aereal pictuers. Click to see the images
The workshop with families had a similar methodology. The first day we went to take pictures to Vázquez de Mella square and the second to Puerta del Sol. At some time the wind was very strong, but thanks to a good teamwork we achieved to get back back the balloon safe and sound.
Map of Puerta del Sol (Madrid) made from a single picture of the workshop,